Lab 1-1: Basics
Overview
In this lab you will write your first web page, and view it locally. You will also connect to your account on the cs server, transfer your file there, and view the page over the web.
Goals:
- Practice using basic web development applications, including a code editor (Atom) and an FTP program (Cyberduck).
- Begin learning HTML (Hypertext Markup Language), the language for structuring web pages.
- Practice uploading web files to your account, on the cs server, and viewing web pages in a browser.
Administrative Details
If you have not yet requested a cs account, do so by filling out the account request form. If you don't yet have your own account, we have guest accounts you can use in today's lab.
Atom and Cyberduck
This course revolves around three important software programs:
- Your web browser, like Safari, Firefox or Gloogle Chrome
- A code editor— we will be using Atom.
- An FTP (File Transfer Protocol) program; we will be using Cyberduck.
Students on the lab computers, you should see the icons for both Atom and Cyberduck on your mac's dock. If not, look for it in the Spotlight (magnifying glass icon on the top right of your screen).
On your own Mac computer, if not done yet, download a free copy of Atom and Cyberduck, so you are set up to do homework there. If you are on a PC, you may use any text editor you choose such as Notepad++. WinSCP is an application you can use for file transferring purposes on a PC.
Your first HTML file
Create a new folder on your desktop and name it lab1.
Here's some general rules for naming folders and files:
- Don't use spaces. Separate words with hypthens (
-) or underscores (_). - Don't use special characters like
#,&,$, etc. - Stick with lowercase letters, avoiding uppercase. Some web servers are case sensitive and you'll confuse yourself if you mix upper and lower case.
In a new document, in Atom, type the following: <h1>Hello World!</h1>
Save this file in the lab1 folder on your desktop, with the name first_page.html.
When naming files, we'll follow the same naming conventions we outlined above for folders.
On your local computer (mac), the path to this file will be something like /Users/YourUsername/Desktop/lab1/first_page.html.
Now, add in the structural tags around the content to be displayed:
<!doctype html>
<html lang="en">
  <head>
    <meta charset="utf-8">
    <meta name=author content="Your name here">
    <title>title here</title>
  </head>
  <body>
        <h1>Hello World!</h1>
        <p>
        Join us for an exciting semester, here in cs115! You don't even need to
    bring your own server!
  </body>
</html>
Notice the html tags are not capitalized: HTML is not case-sensitive, but, for readability purposes, it is best to adopt a consistent format. Also notice the indentation used: although HTML ignores any extra whitespace, it can be used to indicate the nesting/structure of your code, which also improves readability, and can help with debugging.
Don't forget to save your changes before going to the next step.
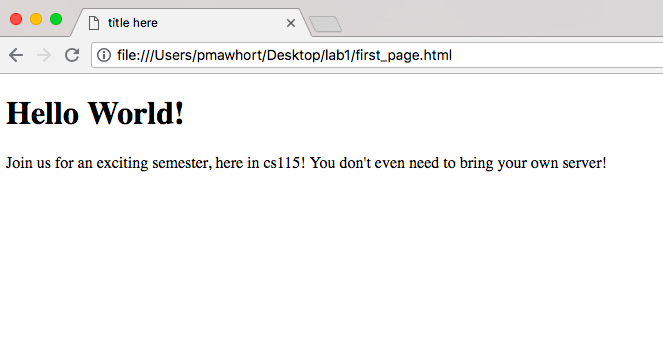
Viewing your file locally
Next you want to load your html file in the browser. In this course we'll use Chrome as our primary browser. There are 2 ways you can load your HTML file in Chrome.
-
Drag the
first_page.htmlfile from your lab1 folder into the Chrome window. - From Chrome, go to File > Open File (or hit
command+o) and locate the file from your desktop.
Once your file is loaded in your browser, you'll only need to refresh the page to see any changes you make.
You can quickly refresh the page by hitting command + r, or just hit your browser's
reload button.
Practice this workflow:
- Make a change in your HTML file: for instance, add some more text to the paragraph, or add a second paragraph.
- Save your changes
- Refresh the browser to see your changes
- Repeat steps 1-3 a couple more times
Not seeing your changes?
Here are a couple of reasons you may not be able to see your changes in the browser:
- The browser may be caching (i.e. saving) a previous version of your
file. Try holding down the
shiftkey while refreshing to clear the cache. - You may accidentally be working on a file that is different than the one you're viewing in the browser. This may happen as your projects get more complex, and you're editing multiple files. Check the path of your file in your code editor and in the browser and make sure they match.
Uploading your file to the server
To move your web files from your computer to the cs server, you'll use a FTP (File Transfer Protocol) program. In this class, we'll use Cyberduck.
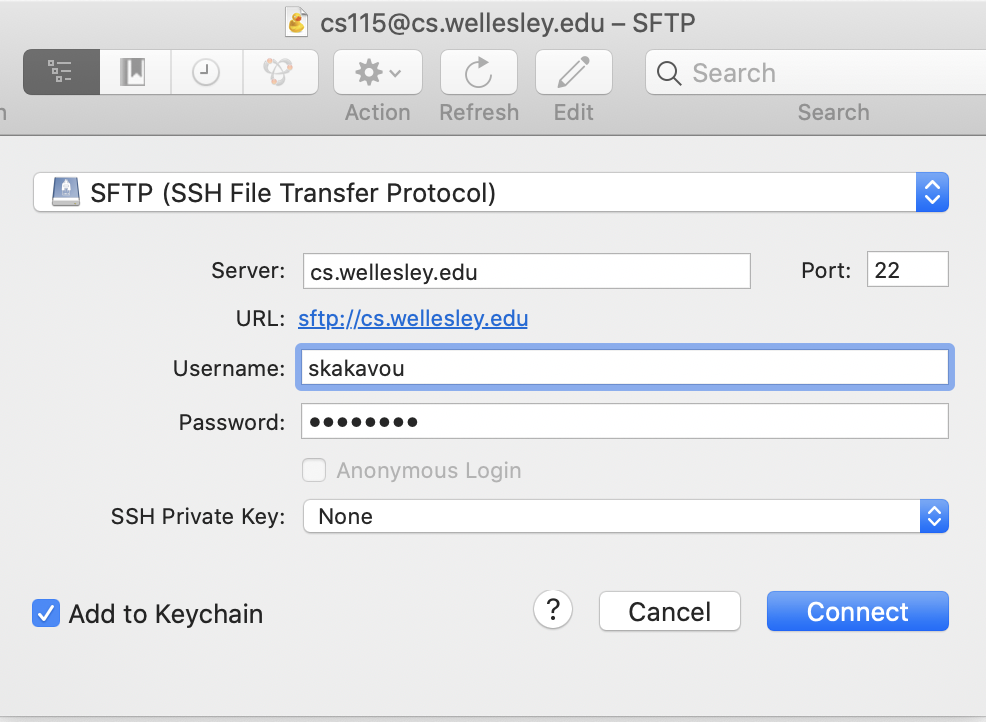
In Cyberduck, under the File menu, choose the Open Connection.
This will bring up a window:
- Change the Protocol to SFTP (SSH File Trnsfer Protocol)
- Enter the server name to be cs.wellesley.edu
- Enter your credentials, i.e. your user name and password, as you specified when filling out the CS account request form.
- You may also want to check the Add to keychain check box.
My Cyberduck window looks like this at this point:
Guest Accounts: If your server account has not yet been created, you can use one of our temporary guest accounts. See the whiteboard or instructor for credentials.
If you are using a guest account, rename your lab1 folder on your desktop to lab1_yourfirstname_yourlastname before the next steps (because the guest accounts are shared, and if multiple students upload a folder called just lab1, files will be overwritten.)
Once your settings are filled in, click Connect and you should be connected to the cs.wellesley.edu server.
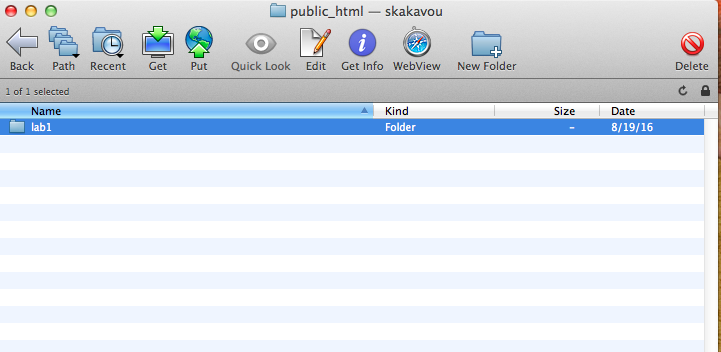
You are in what is called the top-level directory of your account. Here, you'll see the public_html folder, which is where you'll put all files that you want to be publicly available on the web.
Enter the public_html folder by double-clicking it.
Let's upload your work so far. Drag the lab1 folder from the desktop to the Cyberduck window.
This will copy the entire lab1 folder and its contents into the public_html folder on the server.
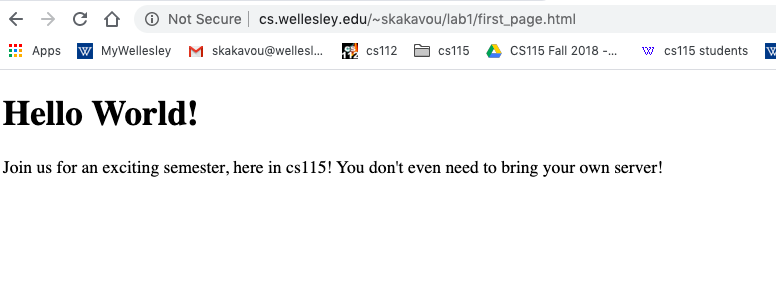
At this point let's view your work by copying this URL into Chrome:
http://cs.wellesley.edu/~yourusername/lab1/first_page.html (replace yourusername).
You should see something like this:
Important note: You now have two copies of your first_page.html file:
- The original version on your local computer's Desktop, inside the
lab1folder. - The copy of it you just uploaded to the cs.wellesley.edu server.
This means if you make a change to #1, it will not be reflected when you refresh the http://cs.wellesley.edu/~yourusername/lab1/first_page.html URL. You will have to re-upload the file in order to see the changes.
Likewise, if you make a change to the file directly on the server, those changes will not be reflected in your local copy.
We recommend though that you make changes to the local files only. When your edits are done, upload your work to the server.